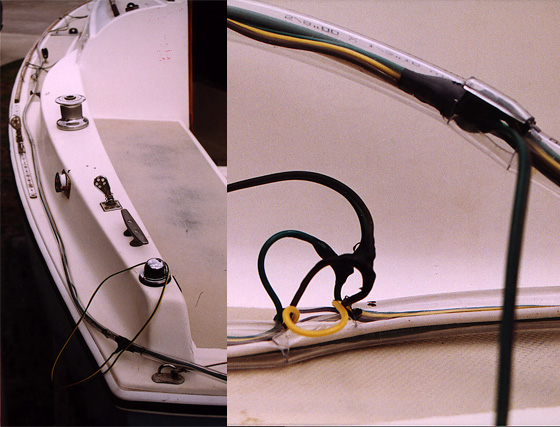
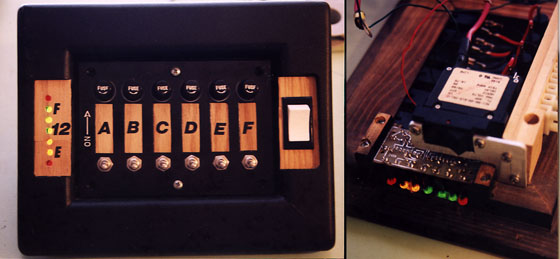
When I bought the boat, there was no electrical system as it was not a requirement for sailing vessels under 7 meters. I installed all new navigation and interior lights and built a custom switch panel. The wiring harness was assembled outside of the boat and then installed after the fixtures. Mast wiring is made from a trailer harness with the plugs near the base of the mast. Wires are run between the deck and liner to keep them as out of sight as possible. To ensure reliablilty, I snaked the hull wiring through vinyl tubing so that the insulation cannot chaff in rough conditions. Conductors I used are much larger than normal amp load requirements because bundling wires reduces the amount of heat they can dissipate.
Each pigtail connection leading to fixtures is extra insulated. I slit the vinyl tubing and pulled the conductors out enough to remove the insulation without cutting the wire. The point where the insulation is removed is staggered between the power and ground wires, and every joint is soldered! Then I painted each joint with liquid latex, taped each joint, then taped them together and pushed them back into the tubing. This work is visible in the photos above. There are no critical "twisted and taped" wires in this boat.
The battery is located under the galley top where it is low and on the center of gravity of the boat. I carry the cooler next to the galley on the floor, where it is also low and at the center of gravity. The switches are recessed in a protective frame to prevent them from being bumped. Two accessory lighter sockets are under the galley top, and one is located in the cockpit locker for solar charging. The depth transducer is epoxied so that it shoots through the hull forward of the centerboard. An LED voltmeter is visible from the cockpit at night to indicate the level of battery charge.